Signing In
Signing In to the eLauncher
The MAPS eLauncher provides a single location from which you can launch any of the MAPS applications, access online training and support resources, or see the new features in the latest releases.
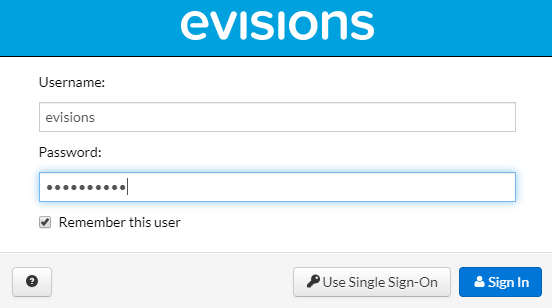
In your web browser, navigate to the URL provided by your MAPS administrator. If you are prompted to log in at this time, do one of the following:
- For HTTPS, enter the username and password provided by your MAPS administrator.
- Enter your LDAP credentials if your institution uses LDAP for single sign-on.
If your institution has single sign-on configured for use with a SAML server, you do not need to enter your credentials here.
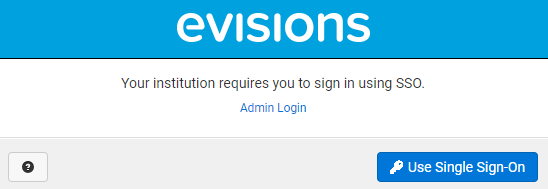
Select the Single Sign-On button and enter your username and password on your institution's SSO page. (The Single Sign-On button is only displayed when SAML SSO is available.)
The MAPS eLauncher displays after your credentials are validated.
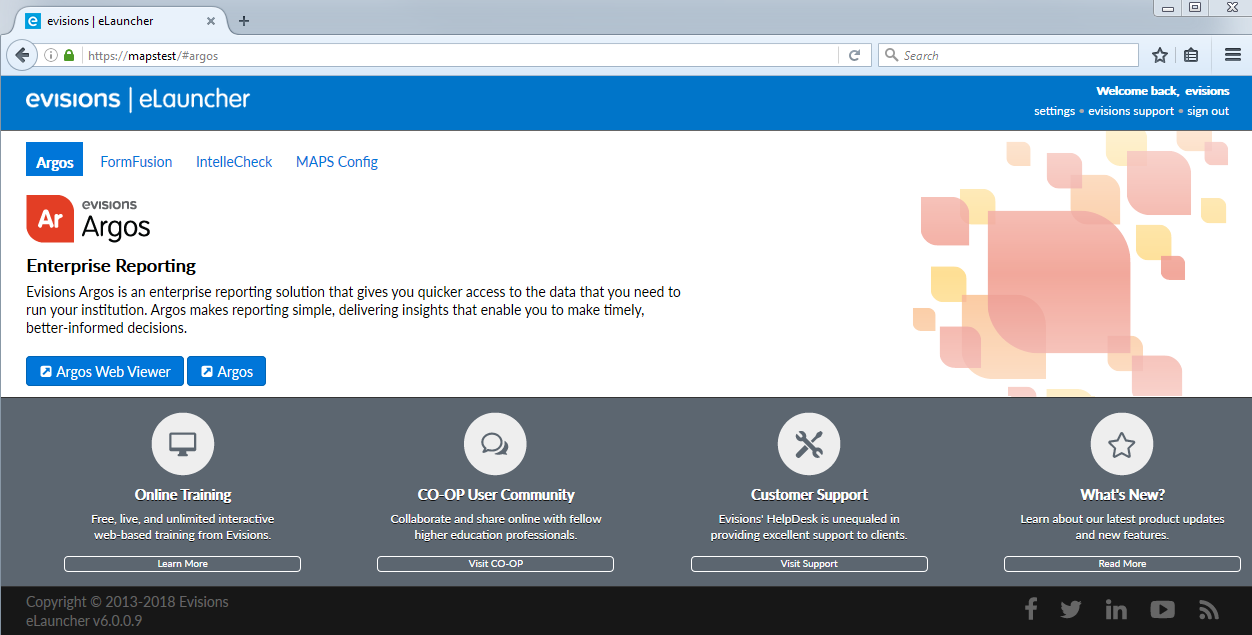
If you cannot sign in, it may be due to local or network firewall settings. You may need to configure your firewall to allow access on the selected port.
Launching Application Clients
To launch an application client, navigate to the product you wish to use and then select the launch button for that product.

If you are prompted to install the Evisions Application Launcher (EAL), follow the prompts on your screen to continue. Expand the link below, for more information.
Note: If you do not have permission to install applications on your computer, you may need to consult with your IT department for assistance.
Select the link to download the setup.exe file. When it has finished downloading, open the file to run the installer.
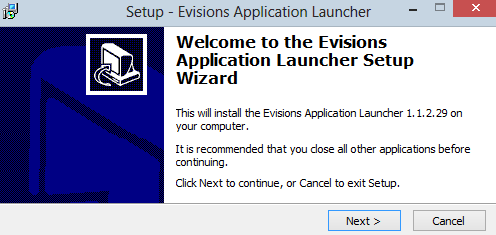
Follow the prompts on the screen. Select Next to continue.
If your computer does not have the Microsoft .NET framework already installed, you will be prompted to install it as part of the EAL setup.
Review and accept its license agreement, then select Install to proceed.
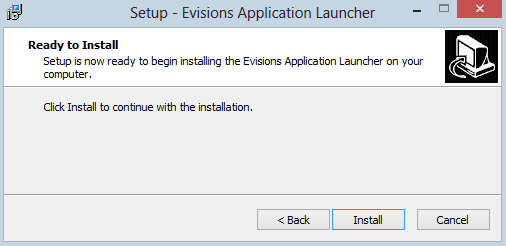
Select Install to continue. If you are installing the Microsoft .NET Framework at the same time, it will install alongside the Evisions Application Launcher.
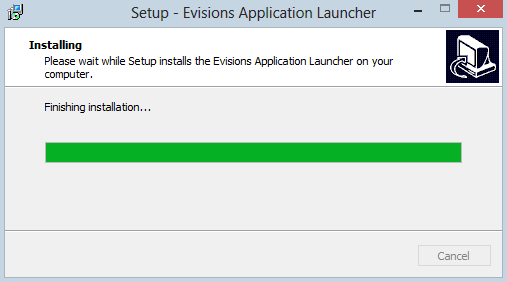
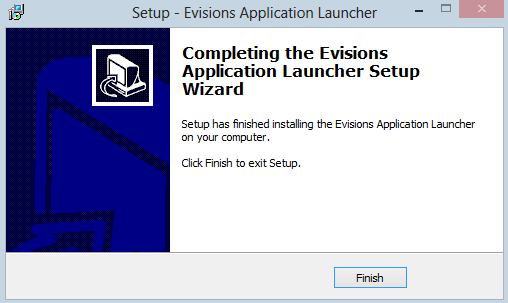
Once the installation is complete, select Finish to close the installer.
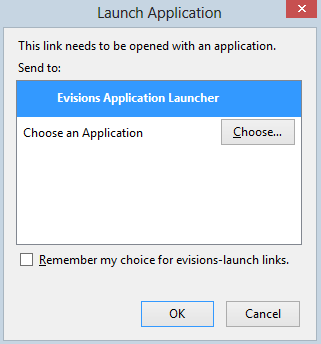
When you launch an application (Argos, for example) you may see a prompt informing you that the browser is trying to run an external program, and asking whether you want to proceed. Select OK or Allow to allow the launcher to run.
Note that the prompt is different in different browsers.
If there are multiple versions of the application available, choose the version to use, then select Launch.
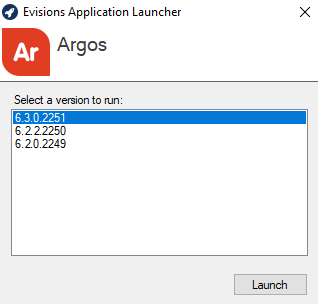
If the application or application version you selected is not already installed on your computer, it will download. This may take some time, especially over slow connections.
Logging In to the Application Clients
If you have not yet signed in to the application, the main sign in screen displays. The screen for each MAPS application is similar to the one below. You must enter your credentials to access the application under the following circumstances:
- You did not use the HTTPS version of the eLauncher
- You did not sign in through a single sign-on server
- You are signing in to MAPS as an administrator
- You are signing in to IntelleCheck (or accessing a secured area)
Otherwise, you do not need to enter your credentials again unless you are accessing a different secured program or feature, or need to reconnect.
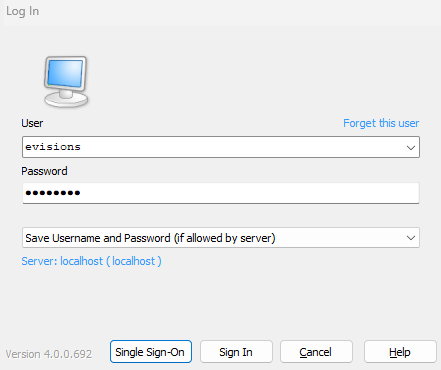
There are several options you can configure on this screen:
- Forget this user - removes this user from the list of saved usernames in the dropdown list.
- Do not save username and password - do not save either the username or the password that you enter.
- Save username - adds this user to the list of saved usernames in the dropdown list.
- Save username and password (if allowed by server) - saves the password for this username, if password saving is enabled in MAPS. Note: for security reasons, you cannot save passwords when signing in to the MAPS Config application.
- Server - Click Edit Servers or on the server name (depending on the application and version you are on) for additional options to change the server you are signing in to or the port number for that server.
Signing in to IntelleCheck
IntelleCheck users have an additional option to select the database connection prior to sign in:

Your data connection permissions (established by the MAPS administrator) determine the connections displayed in the list. If you do not see the connection you want to use, your MAPS administrator can provide further assistance with data connection permissions.
Once you have selected your connection, select OK to launch the application.
Your MAPS administrator determines how failed sign in attempts are handled, based on your institution's password policy. If allowed, you may be able to sign in after waiting a period of time specified by the administrator (often an hour).
Server Selection
Select Edit Servers or the server name on the sign in dialog to select a different server, if necessary. Note that the sign in screen and the Servers section may look slightly different depending on the application and version you are on.
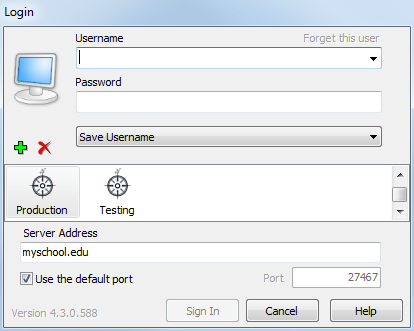
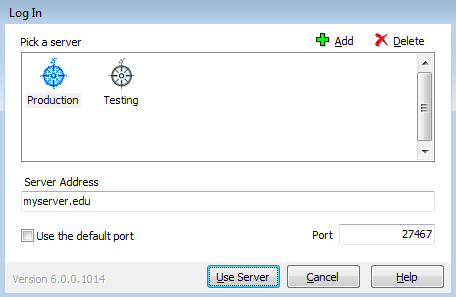
The following actions are available from this area:
- Green "+" sign / Add button allows you to add a server to the list of available servers.
- Red "X" / Delete button deletes the selected server.
- Server Address enter the name/address of the server.
- Use the default port check this box to use the default port for the application (27467) or uncheck to enter a specific port number.
- Port allows you to enter a different port number, if your MAPS administrator has instructed you to do so.